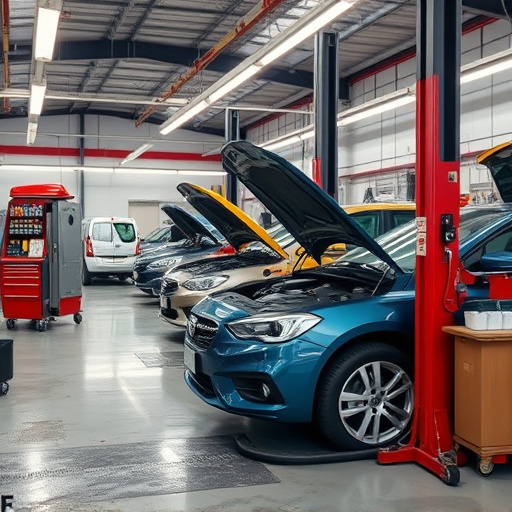
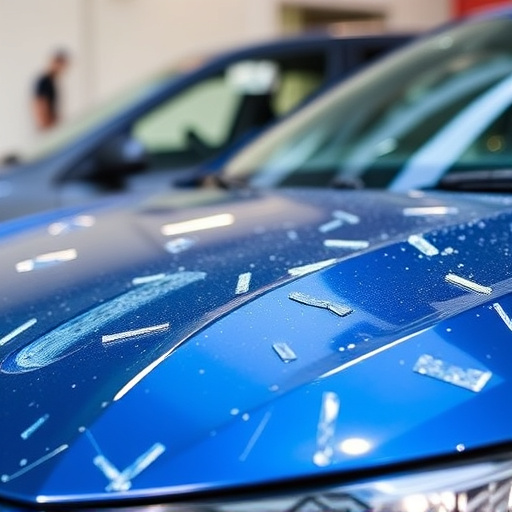

Assessing and preparing damaged metal surfaces is crucial for metallic paint repair. Defects like chips, scratches, and rust spots determine the repair method. Proper surface preparation through cleaning, sanding, and rust removal ensures a durable finish. Using high-quality metallic paints that match original colors enhances aesthetic appeal and protection. Application techniques include scraping, priming, spraying, and clear coating for professional results in car scratch repair and automotive body work.
Ready to transform your metallic paint projects from good to great? This guide outlines the essential next steps for successful metallic paint repair. From assessing damage and preparing surfaces, to selecting the perfect paint and mastering application techniques—we’ve got you covered. Learn how to achieve professional-looking results that last with these expert tips tailored for metallic paint repair.
- Assessing Damage and Preparing the Surface
- Choosing the Right Metallic Paint for Repair
- Application Techniques for Optimal Results
Assessing Damage and Preparing the Surface

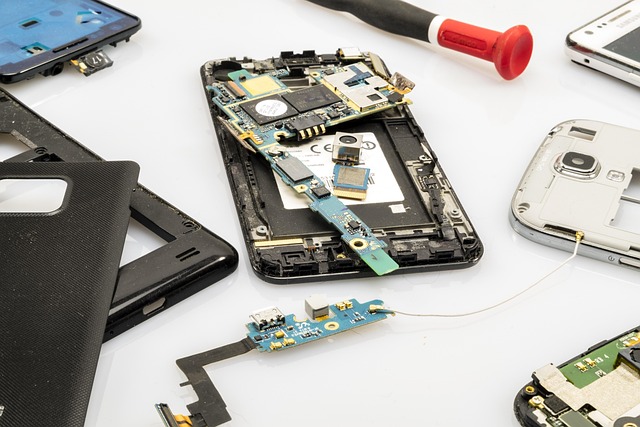
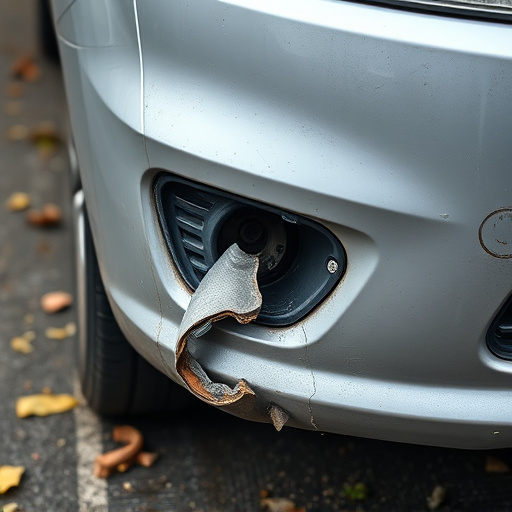
Assessing the damage is a crucial step in any metallic paint repair project. Start by examining the affected area closely to determine the extent of the damage. Look for chips, scratches, dents, or rust spots on the metal surface. These defects can vary in size and depth, influencing the scope of the repair process. For minor scuffs and scrapes, a simple touch-up might be sufficient, while more extensive damage may require complete paint replacement.
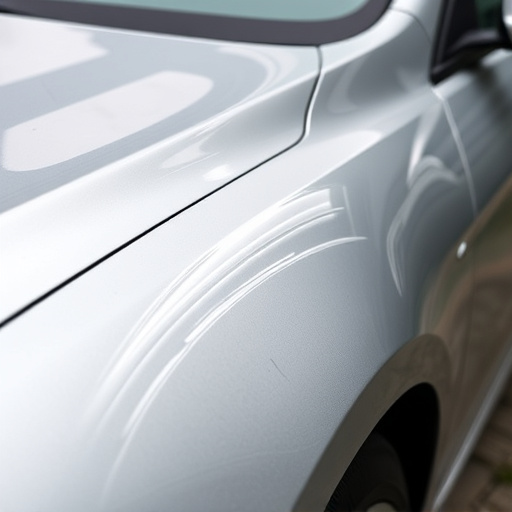
Preparing the surface is an essential step to ensure the longevity of the metallic paint job. Before repairing, clean the area thoroughly to remove any dirt, grease, or old paint debris. Sanding the surface gently can help create a smooth base for new paint application. In cases where rust is present, use appropriate rust removal techniques and consider priming the metal to prevent further corrosion. For car body shop owners offering auto glass replacement or car paint services, ensuring proper preparation is key to achieving a seamless finish that matches the vehicle’s original metallic paint job.
Choosing the Right Metallic Paint for Repair

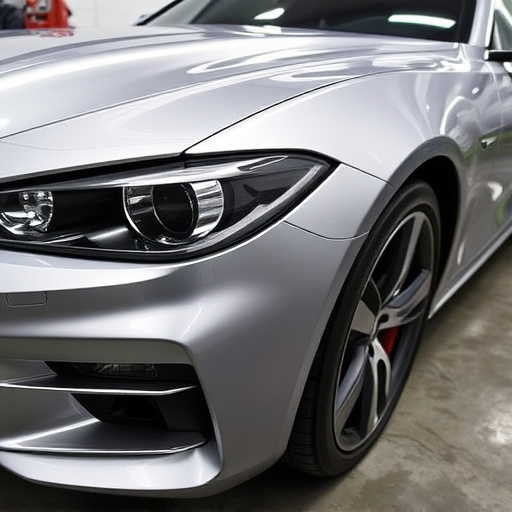
When undertaking metallic paint repair projects, selecting the appropriate metallic paint is a critical step that cannot be overlooked. The right metallic paint must accurately match the original color of the vehicle, ensuring a seamless finish that blends in perfectly with the existing paint job. Quality metallic paints offer vibrant, durable finishes that can withstand the test of time and harsh environmental conditions, making them ideal for both personal and commercial uses.
For auto repair shops handling hail damage repair or other similar projects, choosing a metallic paint that replicates the exact shade and specular qualities of the original finish is paramount. This not only restores the vehicle’s aesthetic appeal but also prevents further damage from exposure to the elements. Unlike generic paints, specialized metallic paints for auto glass replacement or general auto repair can match the unique properties of the original metallic finishes, ensuring a professional, long-lasting result that complements the vehicle’s overall design and value.
Application Techniques for Optimal Results

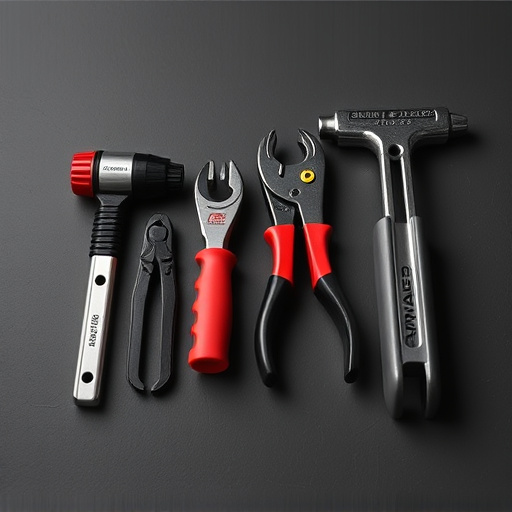
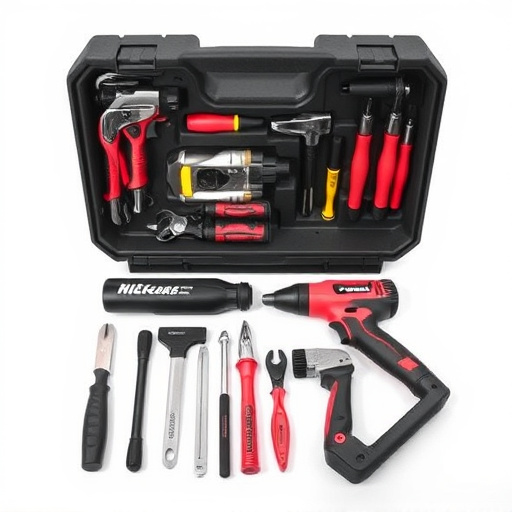
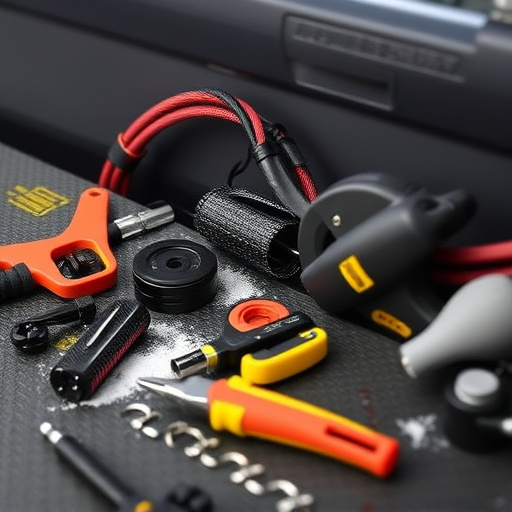
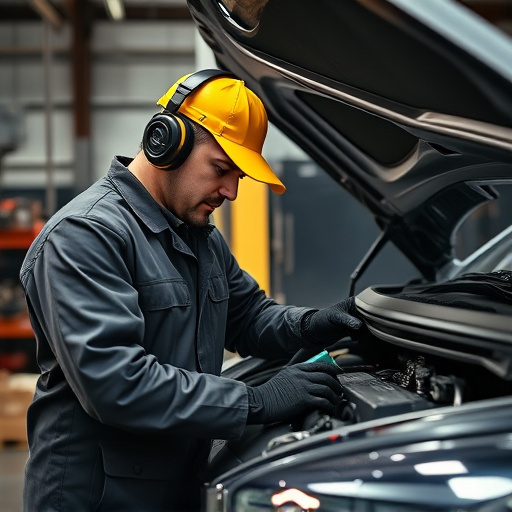
When it comes to metallic paint repair, mastering application techniques is key to achieving optimal results. The process begins with careful preparation of the damaged area, ensuring any loose debris or old paint is removed for a clean, smooth surface. This involves using dedicated scraping tools and fine-grit sandpaper to gently buff away imperfections without causing further damage. Once the area is ready, applying primer specifically designed for metallic surfaces is crucial, as it provides an even base for the new paint, enhancing adhesion and final finish.
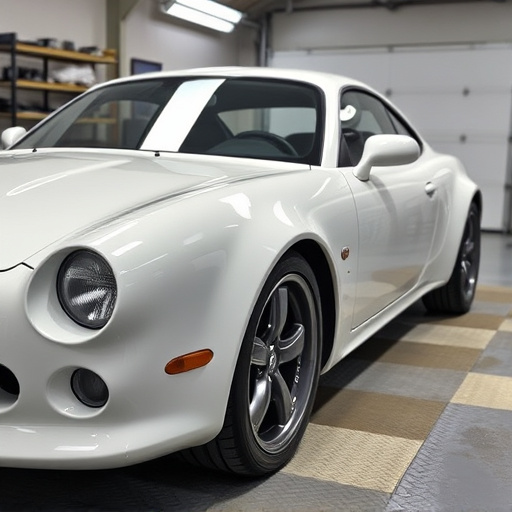
For a seamless, professional look, consider using a spray gun for application. This technique allows for even, controlled coats, minimizing brush strokes or drips that can disrupt the metallic sheen. Allow each coat to dry thoroughly between applications, following the manufacturer’s instructions for ideal drying times. The final step involves adding clear coat, which not only seals and protects the metallic paint repair but also enhances its lustre, making it resistant to fading or chipping. Remember, proper technique is vital in achieving a high-quality, durable finish—a benefit not just for the aesthetics of your project, but also for its longevity, whether it’s a car scratch repair, automotive body work, or other metallic paint repair tasks.
After thoroughly assessing damage and preparing your surface, selecting the ideal metallic paint for the job, and understanding application techniques, you’re now equipped to tackle your metallic paint repair project with confidence. By following these steps, you’ll achieve professional-looking results that enhance your space’s aesthetic appeal. Remember, proper preparation and meticulous application are key to successful metallic paint repairs, ensuring longevity and a stunning finish.