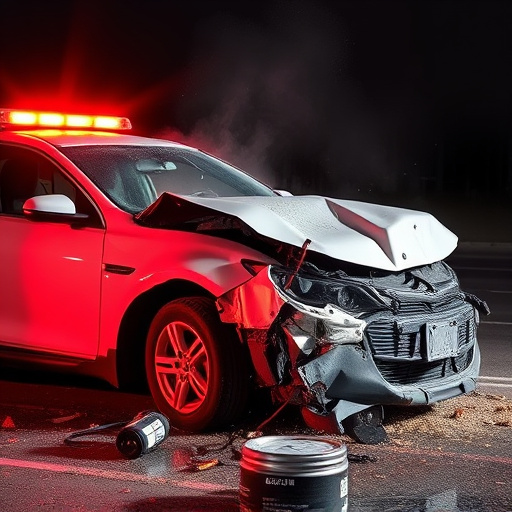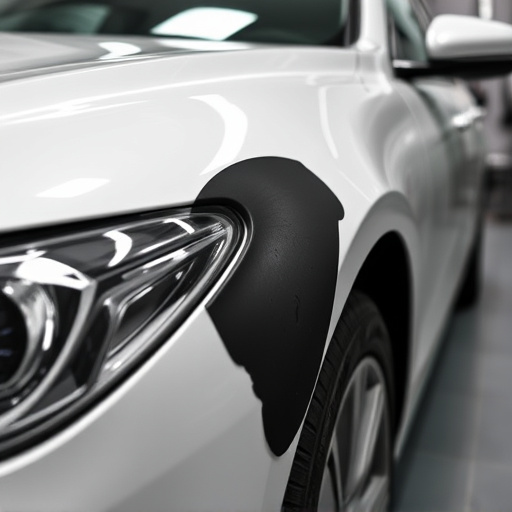
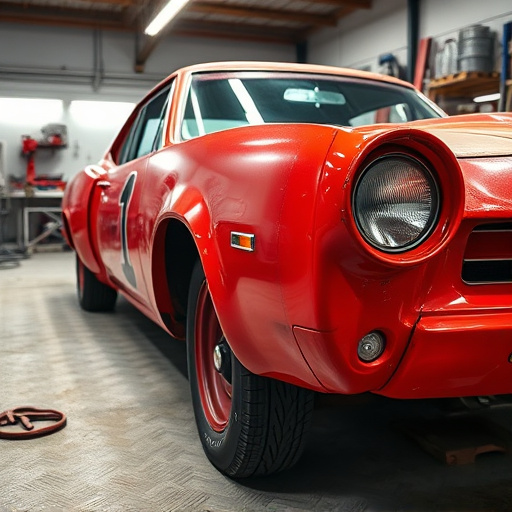

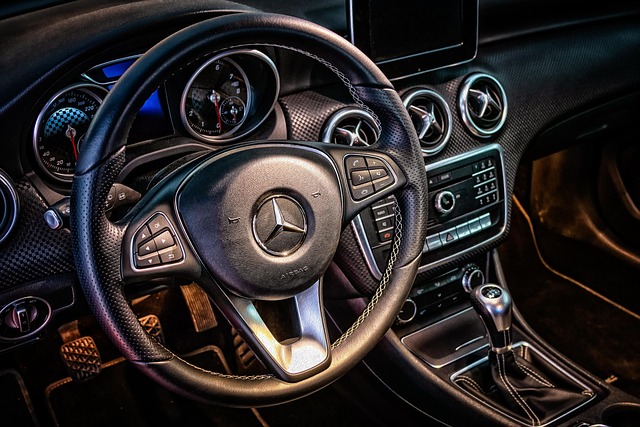
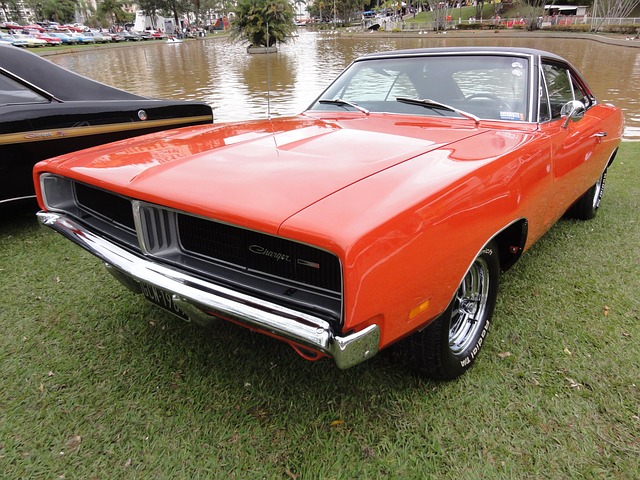
Preparing a metal surface is crucial for successful metallic paint repair. This includes cleaning with a detergent solution, sanding for texture, and priming for better adhesion. Apply metallic paint using a spray gun or airbrush for an even finish, then sand and inspect final results. Protect the paint job with a clear coat and wax to ensure durability, making repairs on vehicles like Mercedes-Benz stand out.
“Unleash your inner artist with this comprehensive guide on achieving a flawless metallic paint job. From preparing the surface for repair to applying an even coat, every step ensures a stunning finish. Learn the secrets to successful metallic paint application, including expert tips for achieving a seamless blend. Discover how to add depth and luster to damaged surfaces, transforming them into eye-catching focal points. Master the art of curing your metallic paint job for long-lasting durability.”
- Preparing the Surface for Metallic Paint Repair
- Applying the Metallic Paint Evenly
- Final Touches and Curing the Metallic Paint Job
Preparing the Surface for Metallic Paint Repair
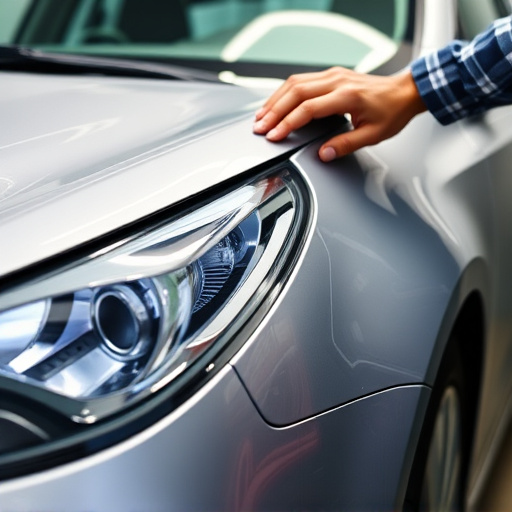
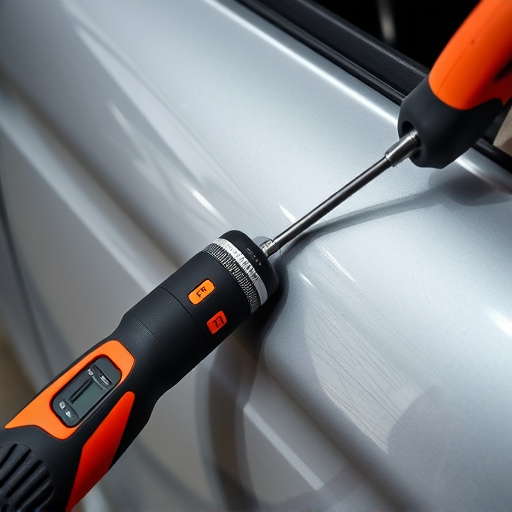
Before applying metallic paint repair, preparing the surface is crucial. Start by thoroughly cleaning the damaged area using a mild detergent and water solution to remove any grease, dirt, or debris. This ensures that the new paint adheres properly. Once clean, inspect the surface for any remaining debris, rust, or loose paint, and use sandpaper to smoothen and even out the panel. The goal is to create a rough texture that allows the metallic paint to bond well.
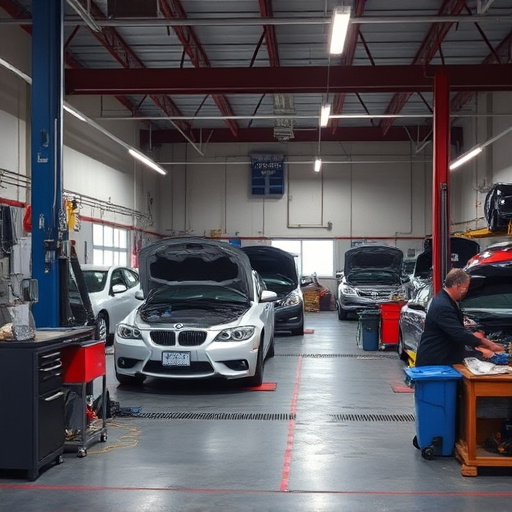
Next, prime the area with an appropriate primer designed for metal surfaces. This step is essential as it provides a barrier between the repair and the final metallic paint, ensuring better coverage and durability. Let the primer dry completely, which will help in achieving a smooth finish when you apply the metallic paint repair later on at your local auto collision center or car body shop.
Applying the Metallic Paint Evenly
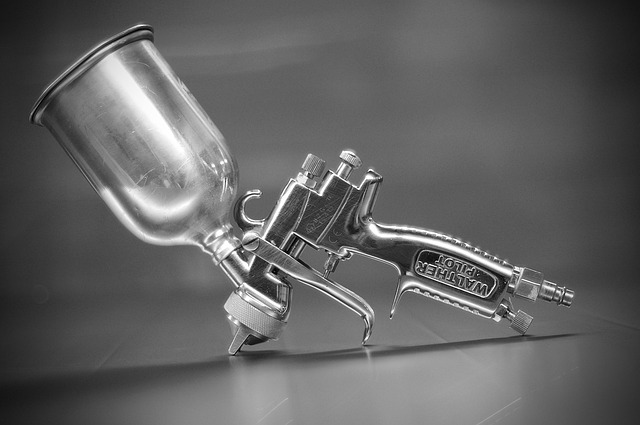
When repairing with metallic paint, achieving an even finish is key. Start by ensuring your surface is clean and free from any debris or old paint. A smooth base will promote better adhesion for the new metallic coat. Use a fine-grit sandpaper to prepare the area if necessary, removing any imperfections that might disrupt the even application of the paint.
For optimal results in auto maintenance and automotive repair, consider using a spray gun or an airbrush for application. These tools allow for precise control over the paint flow, enabling you to achieve smooth, even strokes without drips or runs. Maintain a consistent distance from the surface while applying the metallic paint, and remember that multiple thin coats are better than one thick layer. This technique facilitates a more uniform finish in your auto body painting endeavors.
Final Touches and Curing the Metallic Paint Job
After meticulously applying the metallic paint and ensuring it’s dry to the touch, it’s time for the final touches. This involves carefully inspecting your work for any imperfections or uneven spots. Using a fine-grit sandpaper, gently buff away any rough edges or bubbles that may have formed during the drying process. This step is crucial in achieving a smooth, seamless finish. Once satisfied with the surface, apply a protective coat of clear paint to seal and enhance the metallic effect.
Curing the paint job involves allowing it to fully dry and harden. The duration depends on the specific paint and environmental conditions but typically ranges from 24 to 72 hours. During this time, keep the painted area away from direct sunlight and excessive heat, as it can cause the paint to yellow or crack. For a durable finish, consider adding a layer of wax or polish after the curing period. This step not only protects the metallic paint repair but also adds a glossy, protective barrier against future scratches and stains, enhancing the overall look of your vehicle restoration, whether on a classic Mercedes-Benz repair or any other vehicle.
Smooth application of metallic paint requires careful preparation and technique. By following these steps, from surface readiness to final curing, you can achieve a professional-looking metallic paint repair that enhances, not distorts, the existing finish. Remember, practice makes perfect; with time and patience, you’ll master the art of applying metallic paint evenly and beautifully.